These rustic fruit tarts are easy to make and are especially good as we move through the summer and fully tree ripen fruits are progressively available. I’ve started with an Apricot tart because they are what at the peak right now. In a few weeks it will be peaches, then plums and onto fall with pears. The technique of making the tart is the same no matter which fruit you choose to use.
Ingredients:
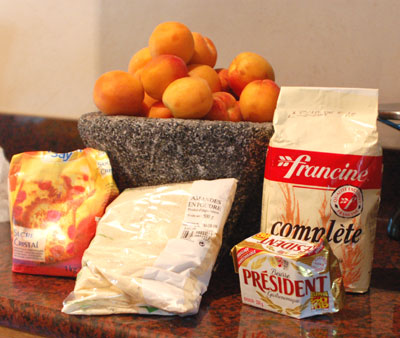
- about 3 lb Apricots
2-3 cups plain flour
- 6-8 oz unsalted butter (keep very cold)
- ½ cup sugar
- ½ cup powdered almonds
- ½ cup more flour
- a few ounces of ice water
- A pinch of salt
Method:
First make your pastry (pate brisee)
Here's how:
- Place the 2-3 cups of flour in your food processor. Exact amount depends upon the size of pie. About 2 cups will make a 9" crust.
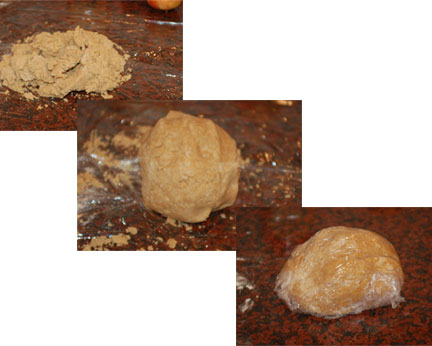
- Cut the cold butter into large pieces. (as in the picture) Place several of them in the processor with the flour & process briefly. Continue until all the butter is used. By now the mixture should look slightly "mealy" if not add more butter.
- Add the pich of salt.
- With the food processor on start adding the ice water, slowly.
Add water until the pastry just forms a ball. - Lay out couple of sheets of plastic film & place the ball of party on it. If the pastry is too dry add a bit more water & knead it in. If too wet add more flour & knead it in.
- When right, form a ball & wrap the film around it.
- Top pic is just out of processor. Middle is where it is just kneaded into a ball.Bottom is when the pastry is wrapped in film.

- When wrapped in film knead gently.
- Place in fridge for 1/2 hour or more.
- Onto the next stage.
- Cut the Apricots in half & remove the seed.
- Throughly mix the sugar, ground almonds & 1/2 cup flour together
- Turn your oven on to a temperature of 190C & place a rack near the top
 .
.

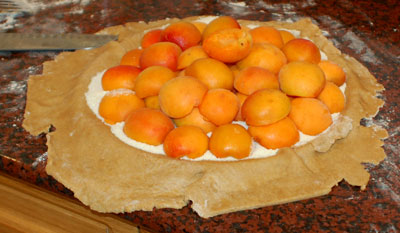
-Take the pastry out of the fridge & roll it out as shown. Use plenty of flour to prevent sticking. Roll it to 2-3 inches larger all around than your baking tray.
NOTE: I use an old pizza bottom as can be seen, but any round flat sheet will do . OR, you can just use a cookie sheet & make a roughly square or rectangular tart. That's why I call it rustic.

- Spread the sugar/almond/ flour mix evenly over the crust leaving a generous margin all around.
- Place the apricots around the edge in a ring, then an inner ring until the base is covered. Add a second layer closer to the center.
- Carefully fold the pastry up over the apricots pinching it at intervals to keep it up.
- Make any repairs needed. You would, if possible, like to keep all of the juices inside.
- Brush the folded up pastry with a bit of water then sprinkle with sugar.
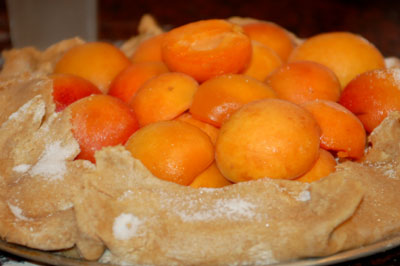
Your tart is now ready for the oven.
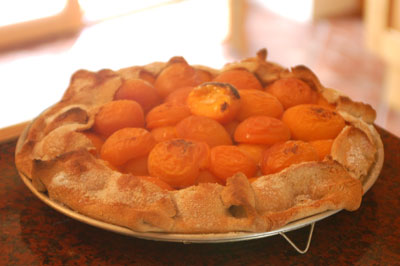
- Place the tart near the top of the oven & bake for 30-40 minutes.
- Near the end of cooking you may want to turn on your broiler & brown the top of the tart a bit. Be careful as it can easily burn.

Remove the tart from the oven & cool on a wire rack.
Serve at your preferred temperature with ice cream or creme fresche or best of all fromage fresche.
Carefully fold the pastry in half & position it on your sheet evenly. Unfold. Make any repairs necessary.